Showing posts with label before and after. Show all posts

Monday, October 24, 2011

Measure Twice Cut Once


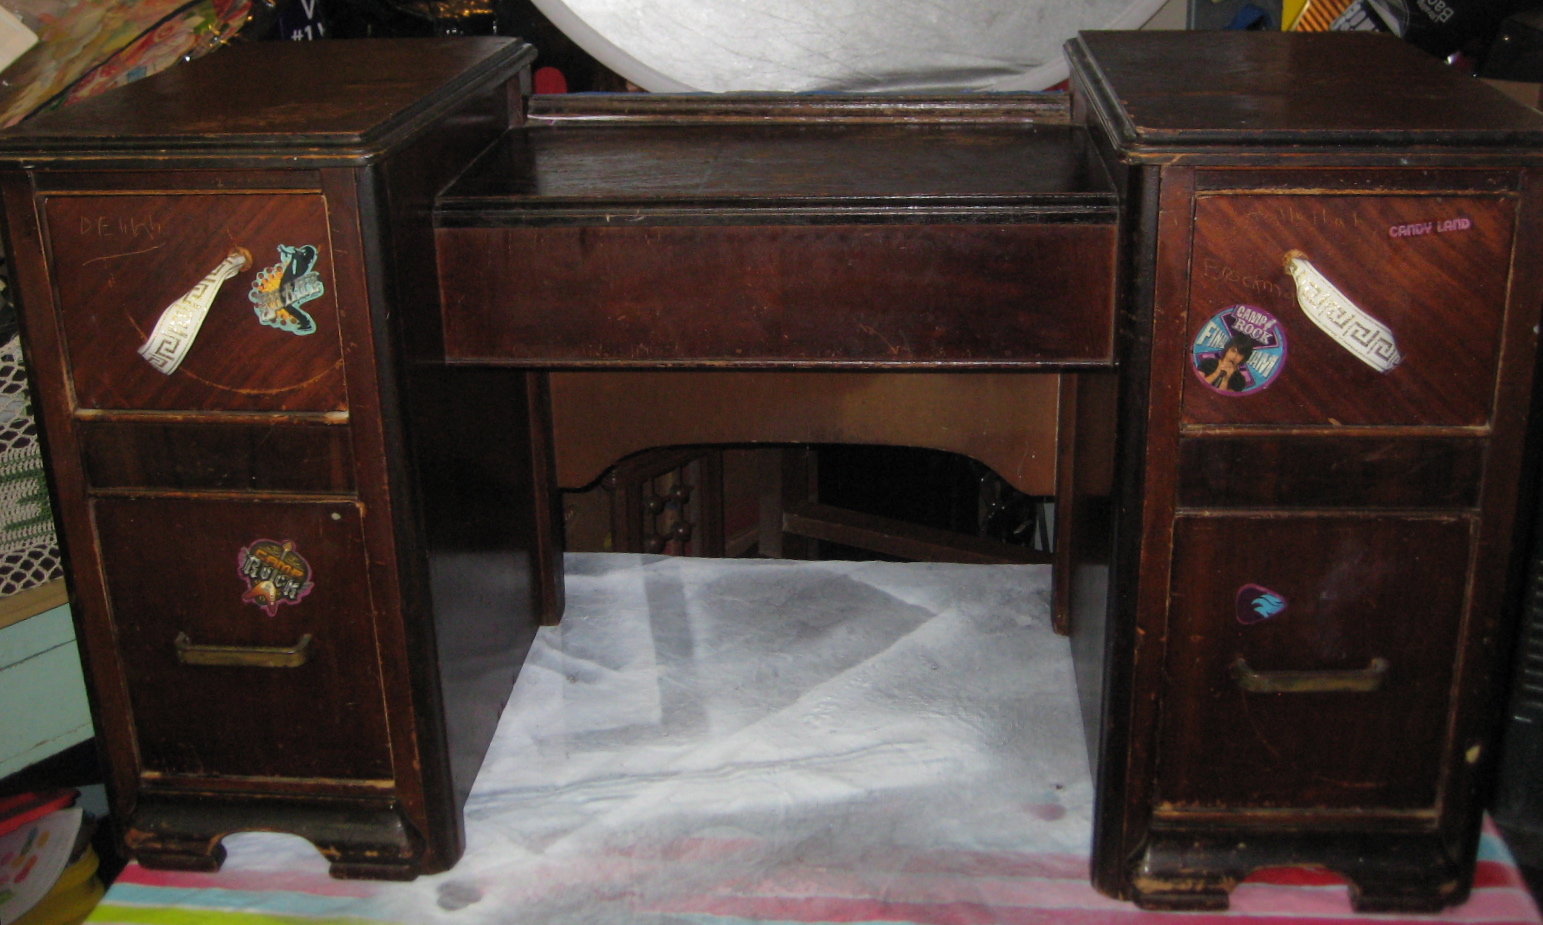
I got lazy and ruined a coffee table.  


Although I sanded the top, I didn't sand the base or legs. 


 The paint peeled.

 It looked so good from far away, but the peeling paint looked terrible and the paper I'd put on top wasn't quite right because I'd rushed the process.


So, after acknowledging my weaknesses I made two purchases.  


 This is Zinsser 1-2-3 made my Rust-oleum it is awesome for two reasons

1. It is water based.  I don't even want to mess with oil based products right now.
2. You can paint it over a glossy surface and go straight to painting!  No Sanding!!!


My second purchase was a Purdy Paint Brush


A proper paint brush makes the difference between slopping paint and applying paint.  Brush marks are easier to avoid with the thin flexible bristles and the brush cleans up quick without even using soap. 

I've started a few new projects using these two new tools.  They've already saved me time and the painting looks really smooth and even.

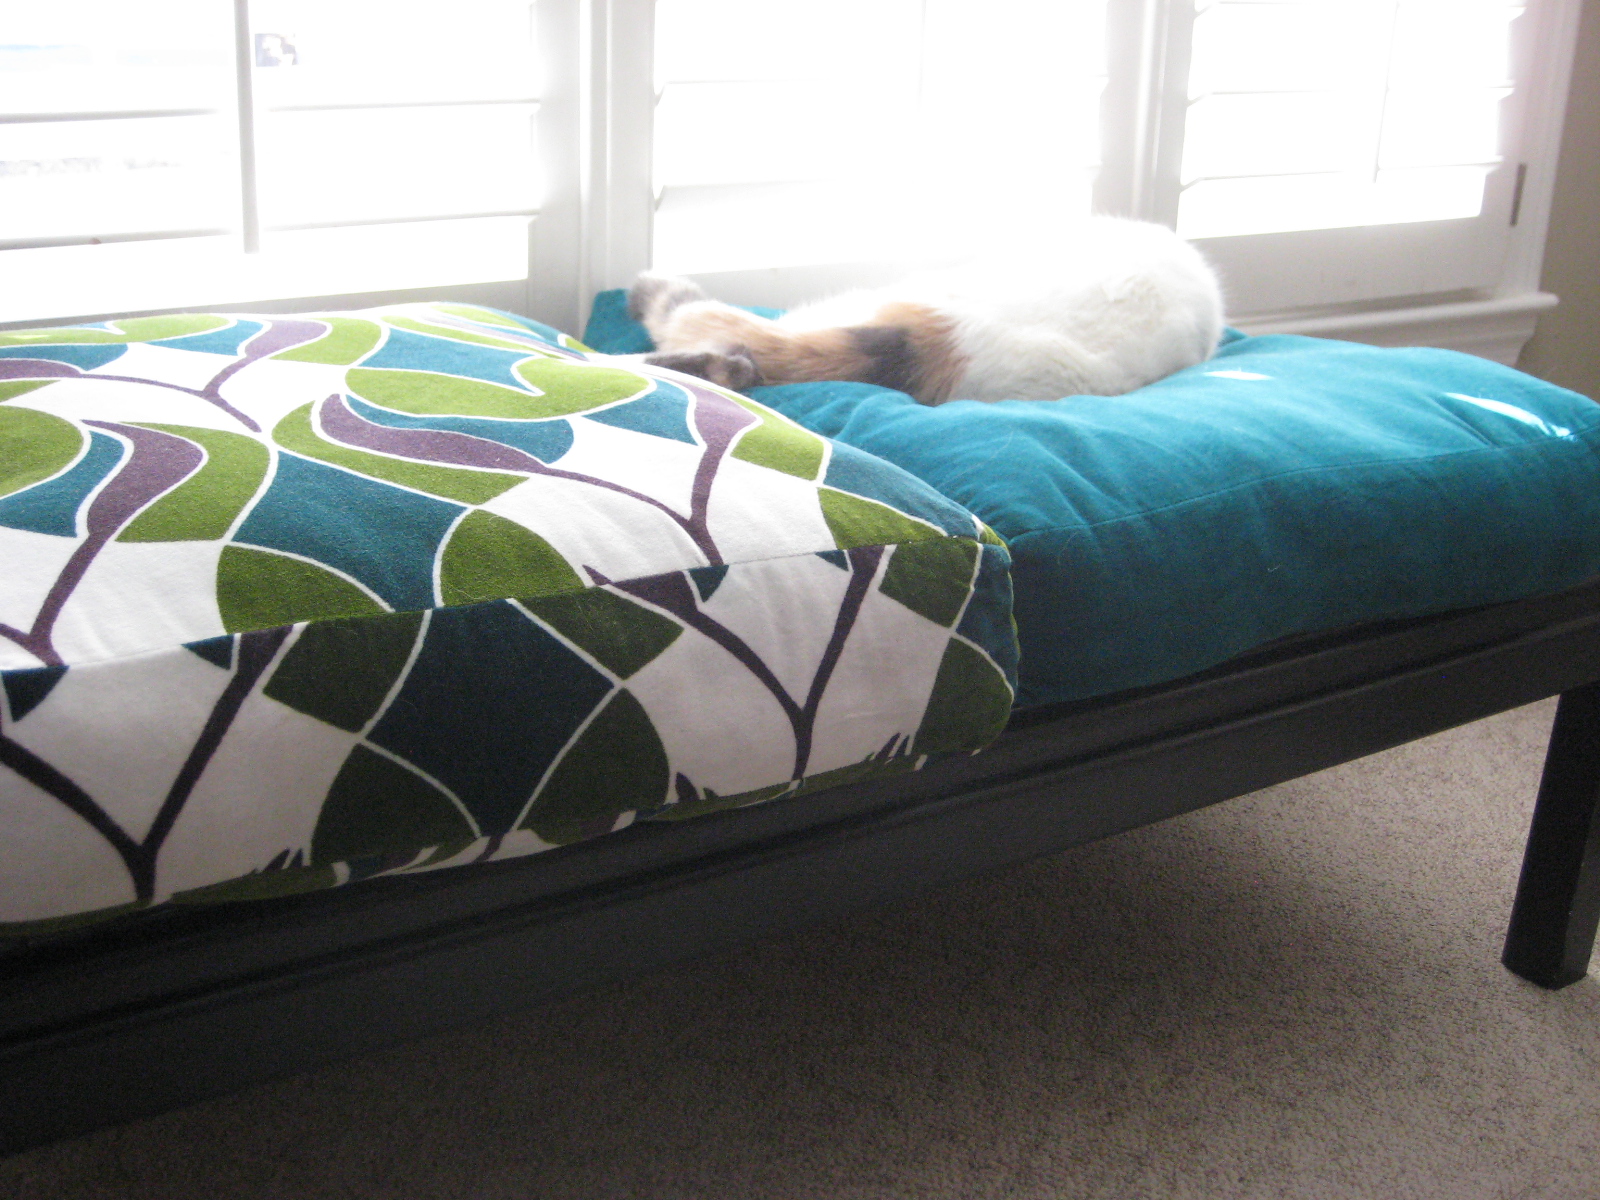
The table isn't a total loss, the cat loves it and it fits an under the window spot we were having problems finding furniture for.  


Wednesday, October 12, 2011

Old Vanities Are a Hard Sell


I watch the beautiful old vanities coming in for market, some painted and some natural.  Huge mirrors, lots of drawers for lady stuff, glass tops, mirrored tops all very feminine.  It's sad to watch the wallflowers waiting for someone to decide that they may have a use for an old vanity.


Who uses a vanity as a vanity anymore? While the big mirrors are nice, they are very difficult to sit at to get ready.  You can't really get close enough to the mirror for makeup application, there isn't enough light unless you take up the top with lamps or resort to a industrial clap lamp.  I found a really interesting article at HowToSpendIt.com It takes a second to get the hang of the site but the article is really informative.  Now I want to line the drawers with suede!


As I've been working with this rather plain vanity, I've been thinking about what it could be used for.  I decided to leave off the mirror. I've also been trying to come up with an accent color for this brick red. I really don't want to use cream, but everything else looks to masculine. 


It seems to be the perfect size for a kids desk or a entry table. Still not sure how it will turn out.

Thursday, September 29, 2011

The Zen of Sanding

Really, I didn't want to sand.  I really really didn't.  I even called my dad to see if he would let me off the hook.  So many nooks and crannies.  A compromised was reached with logic and laziness, I would thoroughly sand the top and kinda sand the base.

So I discovered I needed 3 levels of sanding to do this properly (well 4 actually).  The first sanding with 60 grit paper roughed it up and got all the varnish off, and my hands felt just like 2 balloons.  The second with 120 grit paper got it back to semi smooth but after the 320 grit the top felt like baby skin.  I petted it for a while and washed it with water and was proud that I actually sanded instead of slopping paint on.

I used 4 coats of black Behr paint and gave it a full day to dry in between coats.  (The first coat shouldn't be a super thick 100% coverage coat.  The second and third coats will make sure you get full coverage.)  I had to research top coats.  Minwax makes a water based Polycrylic that works really well.  The bubbles are hard to control but after awhile I got down a technique that worked.


The table has a leaf that tucks away, I patted myself on the back for remembering to paint it at the same time as the rest of the table. I think the base is my favorite part of the table.  Very dramatic yet sturdy and respectable.  I'm still contemplating polishing up the end caps on the legs, but they do have a nice patina.

The fourth sanding comes in between the first and second coats of polycrylic. Use something like 320 grit.  Make sure you get every bit of of the sanding dust off.  Wipe it down with water, let it dry and repeat a couple of times.  I put on 3 coats of polycrylic.  (eta: I can't believe I forgot to mention the help I got from John Yourdon on this part, he sanded and applied the second and third coats!) The finish is well worth the time.  Table tops take tons of abuse and really must be topcoated to prevent totally ruining the table and wasting all the time you put in sanding.


So here it is, tonight it will go to market.  I put a lot of work into fixing it up and I can only hope it goes to a good home where kids will bang on it with cups and stab it with forks.


Wednesday, September 28, 2011

Ceiling Paint & The Little Side Table

While looking for ideas I found this site.  The dramatic bold colors were so different from the shabby chic style that seems to be everywhere. I hadn't redone anything in a bold flashy style and wanted to give it a shot.

I'd had this little half table for several months, but set it aside when I realized the bottom was cracked.  Having recently become more confident of my repair skills, I put a screw in and painted it white.  I didn't use wood glue, or drill a pilot hole or use clamps, I just strong armed it together.

At Home Depot the week before, I struggled to keep my 2yr old in the cart while grabbing oops paint. When I opened it to put a coat on, the smell of every new apartment or house I've ever moved into wafted out.  I looked at the can and it was ceiling paint. I didn't really know what that meant. So I painted. 

 I wanted to do something like a coloring book outline around each edge.  The table reminded me of a tuxedo. I outlined all the edges and it looked pretty cool, but it needed more drama. This is what I ended up with.   The paint doesn't match the table style at all, but somehow it kinda works.

I painted the top with satin Behr black latex and coated the whole thing with Minwax Polycrylic. When I came back to check on it, the white had started cracking.  I guess it has something to do with the ceiling paint.  The table looks perfectly ridiculous and the crackling is an added bonus.


Tuesday, September 27, 2011

1930's Folding Table & Chairs + New Oilcloth = Love

I picked up this folding table and chairs from a yard sale mainly because of the cutouts on the chairs.  After hanging out with it for a year or so and knowing I didn't want to paint, I saw the oilcloth at The New Dime Store and found the solution. 
I stapled it on, leaving the original cloth underneath.  The oilcloth really softens the color of the wood and the orange leaves match really well with the cut outs on the chair.  There are tons of bright colored options in oilcloth, and there are even some diy's to making your own 'real' oilcloth that is coated with linseed oil.  This would be great if you have specific fabric that you want to use.